Beginner Makeup Routine Tracker
Follow the logical order below to achieve a polished look. Check off each step as you complete it. Use the timer to track your progress!
Routine Timer
You just bought your first set of brushes and a foundation that matches your skin tone. You sit down, look in the mirror, and suddenly feel paralyzed. Where does it start? Do you put blush on before or after powder? Why does your eyeliner always look like a smudge? If this sounds familiar, take a breath. Makeup isn't magic; it's a process. And like any process, once you break it down into small, manageable pieces, it stops being scary and starts being fun.
Beginner makeup is the application of cosmetic products in a simplified, logical order designed to enhance natural features without requiring advanced artistic skills. Unlike professional editorial looks, which prioritize drama and precision, beginner routines focus on speed, forgiveness, and enhancing what you already have. The goal isn't perfection; it's looking like yourself, but rested and polished.
Start with a clean canvas
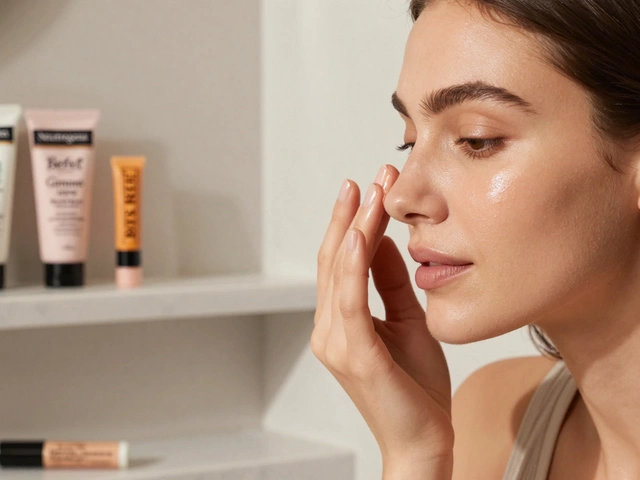
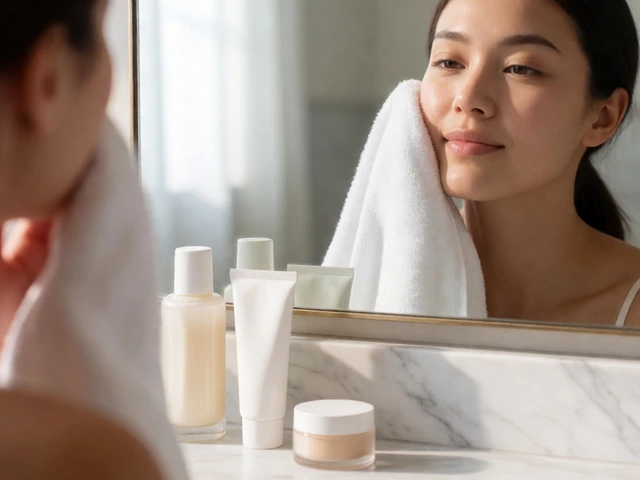
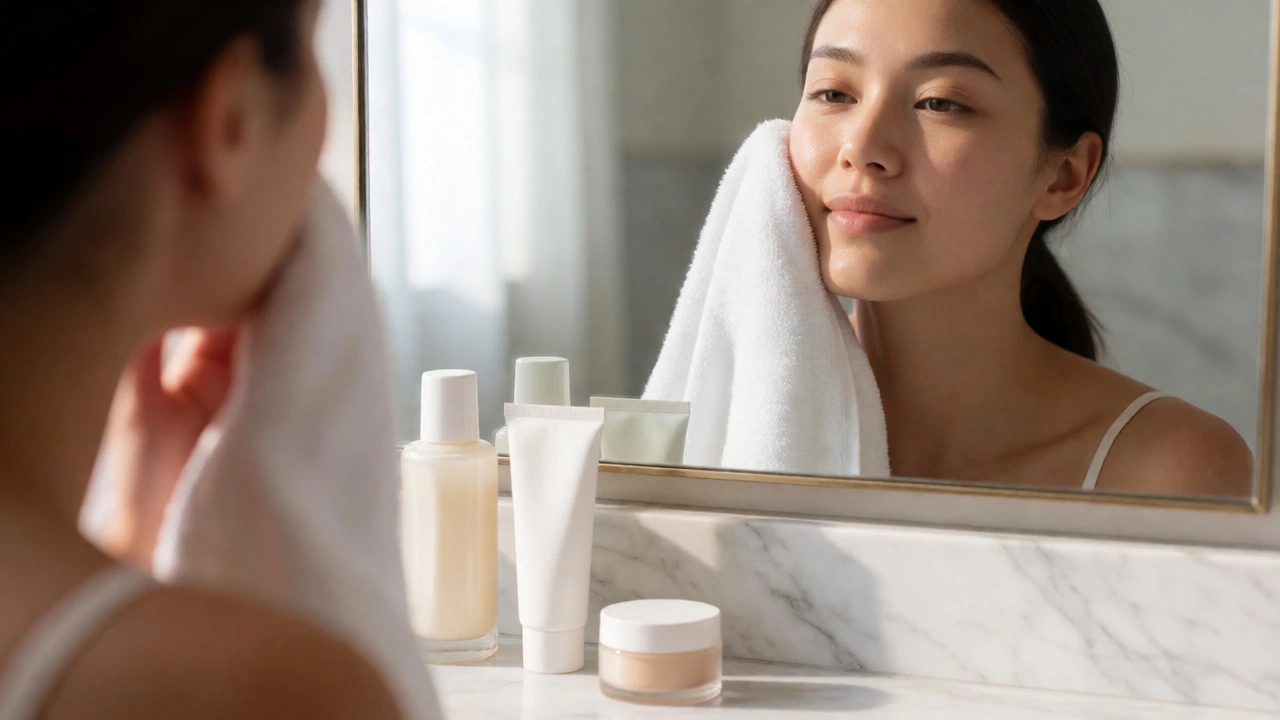
You can’t build a house on a shaky foundation, and you can’t apply makeup to unprepared skin. This is the step most people skip, and it’s why their makeup slides off by lunchtime. Wash your face with a gentle cleanser suited to your skin type-whether that’s oily, dry, or combination. Pat it dry; don’t rub.
Next comes moisturizer. Even if you have oily skin, you need hydration. Look for a lightweight, oil-free formula. Let it sink in for at least two minutes. If you rush this, your makeup will cling to dry patches or slide around in oily zones. Sunscreen is non-negotiable, too. In New Zealand, where the UV index can hit extreme levels even in winter, a broad-spectrum SPF 30+ is essential. Apply it as the final layer of your skincare routine. Wait another five minutes before touching your face with makeup tools. This prep time is crucial for longevity.
Prime and base: The secret to lasting wear
Primer is often seen as an optional extra, but for beginners, it’s a safety net. It creates a smooth surface so foundation glides on evenly rather than getting stuck in pores or fine lines. Choose a primer based on your main concern: mattifying for oily T-zones, hydrating for dry cheeks, or color-correcting (green for redness, peach for dark circles) if needed.
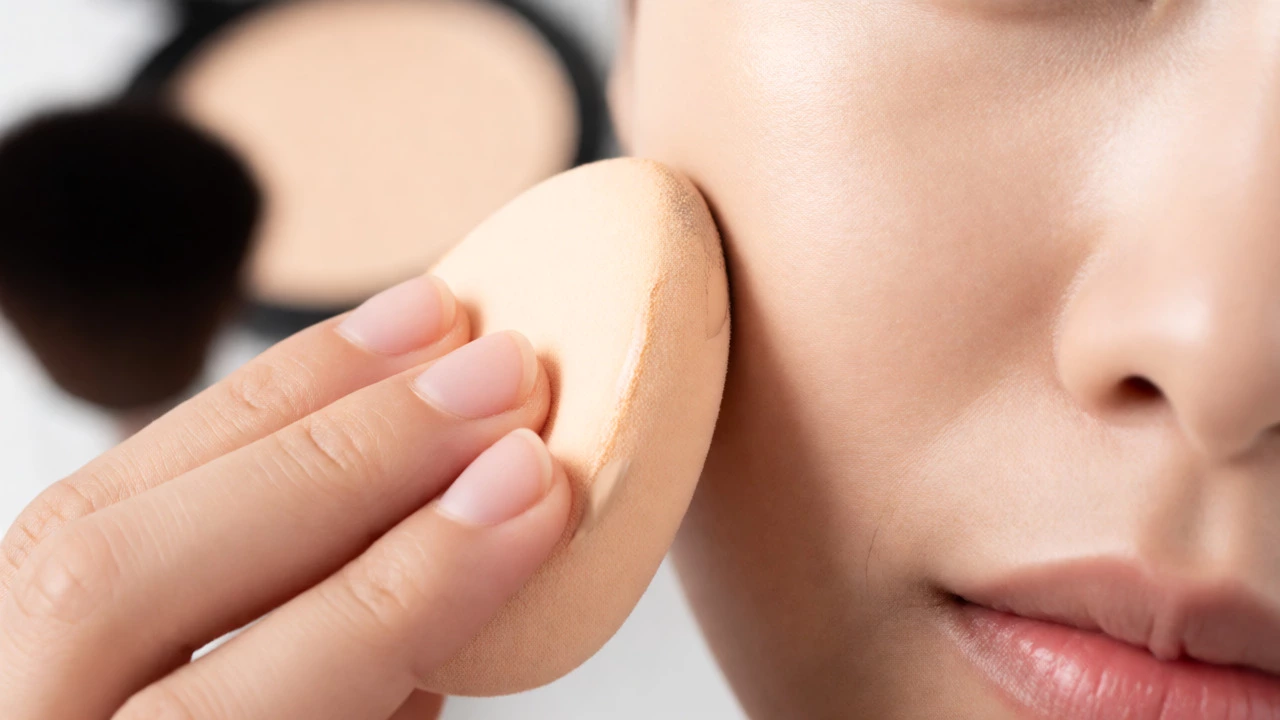
Now, foundation. Forget about full coverage unless you’re going to a gala. For daily wear, aim for a "skin-like" finish. Start with less product-you can always add more, but removing excess is tricky. Dot foundation onto the center of your face and blend outward using a damp beauty sponge or a dense brush. Blending outward ensures there are no harsh lines at your jawline. Don’t forget your neck! A visible line between your face and neck is the biggest giveaway of bad makeup application.
If you have specific spots to cover, use concealer only where needed. Apply it in small triangles under the eyes and dab gently with your ring finger or a small brush. Avoid dragging it across the delicate eye area, which can cause creasing later.
Set it with powder
Liquid products need something to hold them in place. Enter setting powder. This step prevents your makeup from transferring onto your phone screen or shirt collar. Use a fluffy brush to lightly dust translucent powder over areas that get shiny, usually the forehead, nose, and chin. This technique is called "baking" if you leave it on for a few minutes, but for beginners, a light sweep is enough.
Be careful not to over-powder. Too much powder makes you look flat and cakey. The goal is to matte down shine while keeping some natural glow on the high points of your cheeks. If your skin feels tight after powdering, you’ve used too much. Mist your face with a setting spray to melt the powder into the skin for a more natural finish.
Add dimension with blush and bronzer
Foundation evens out your skin tone, but it also removes your natural dimension. You look flat because shadows and highlights are gone. Bring them back with bronzer and blush. Bronzer mimics where the sun hits your face: the top of your cheekbones, the bridge of your nose, and the edges of your forehead. Smile slightly to find the hollows of your cheeks, then sweep blush onto the apples of your cheeks, blending upward toward your temples.
For beginners, cream formulas are often easier to work with than powders because they blend seamlessly into liquid foundation. Just tap a tiny amount onto your fingertips and press it into the skin. If you prefer powder, use a lighter hand and build up intensity slowly. Remember, you want a flush, not a clown nose.
Eyes: Keep it simple
Eyes are where many beginners panic. But you don’t need twelve colors to make your eyes pop. Start with neutral tones: browns, taupes, and soft pinks. These shades complement almost every eye color and skin tone.
First, groom your brows. Clear brows frame the face. Use a spoolie brush to comb hairs upward. If you have sparse areas, fill them in with a pencil matching your hair color, using short, hair-like strokes. Avoid drawing a solid block; it looks unnatural.
For eyeshadow, pick one medium shade and one darker shade. Apply the medium shade all over the lid. Then, use the darker shade in the outer corner and along the lash line to create depth. Blend well with a clean fluffy brush until there are no harsh edges. If you’re nervous about eyeliner, skip the winged look for now. Instead, tighten-line your upper lashes with a brown pencil. This makes lashes look thicker without the risk of a crooked line. Finish with mascara. Wiggle the wand at the base of your lashes and pull upward. One coat is usually enough for daytime.
Lips: The finishing touch
Lips are the easiest part of the face to fix if you mess up, so save them for last. Exfoliate gently if your lips are chapped. Apply a lip balm and let it absorb. Then choose a color that suits your mood. Nudes, rose pinks, and soft reds are versatile choices for beginners.
You don’t need a lip liner unless you want precise definition. Apply lipstick directly from the bullet or use a brush for control. Blot with a tissue and reapply for longer wear. If you over-apply, clean up the edges with a little concealer on a small angled brush.

The Beginner’s Toolkit
You don’t need to buy everything at once. Here’s a minimal list of essentials to get you started, focusing on versatility and ease of use.
| Product Type | Why You Need It | Beginner Tip |
|---|---|---|
| BB Cream or Light Foundation | Even skin tone without heaviness | Match to your neck, not just your face |
| Concealer | Cover dark circles or blemishes | Choose a shade one tone lighter than foundation for under-eyes |
| Setting Powder | Locks makeup in place | Use translucent powder to avoid changing your foundation color |
| Bronzer | Adds warmth and dimension | Sweep lightly; build up gradually |
| Blush | Brings life to the face | Cream blush blends easily with fingers |
| Mascara | Opens up the eyes | Wiggle at the roots for volume |
| Lip Balm/Tint | Hydrates and adds subtle color | Can double as blush for a monochromatic look |
Common pitfalls to avoid
Most beginner mistakes come from rushing or using too much product. Here are three traps to watch out for:
- The Cake Face: Applying thick layers of foundation and powder dries out the skin. Start thin and build coverage only where necessary.
- The Orange Neck: Using a foundation that’s too dark or orange-toned for your body. Always test foundation on your jawline in natural light.
- The Raccoon Eyes: Smudging eyeliner or mascara happens when lids are oily. Prime your eyelids with a little concealer or eyeshadow primer before applying eye makeup.
Frequently Asked Questions
Do I really need primer?
While not strictly mandatory, primer significantly improves the longevity and texture of your makeup. It fills in pores and creates a barrier between your skin oils and your foundation, preventing breakdown throughout the day. For beginners, it acts as a forgiving buffer that makes blending easier.
What is the correct order of applying makeup?
The standard order is: skincare (cleanser, moisturizer, SPF), primer, foundation/concealer, setting powder, bronzer/blush, eye makeup (shadow, liner, mascara), and finally lips. Following this sequence ensures each layer sets properly without disturbing previous steps.
How do I know which foundation shade matches my skin?
Test foundation on your jawline, not the back of your hand. Your face and neck should match. Check the color in natural daylight, as store lighting can be misleading. Let the swatch sit for ten minutes to see how it oxidizes (changes color) before deciding.
Is it better to use brushes or sponges for beginners?
Damp beauty sponges are often easier for beginners because they bounce product into the skin rather than dragging it, reducing streaks. They also provide a sheer, natural finish. Brushes offer more precision for contouring and powder application, but require more technique to master.
How long should a beginner makeup routine take?
Once you are comfortable with the steps, a basic everyday look should take 10-15 minutes. When learning, expect it to take 30-45 minutes as you figure out blending techniques and product placement. Speed comes naturally with practice.