Simple Makeup Routine Timer
Follow along with this guided timer to achieve a polished look in under 10 minutes. Click "Start" to begin the first step.
Current Step:
Ready to Start
Press Start to begin your routine.
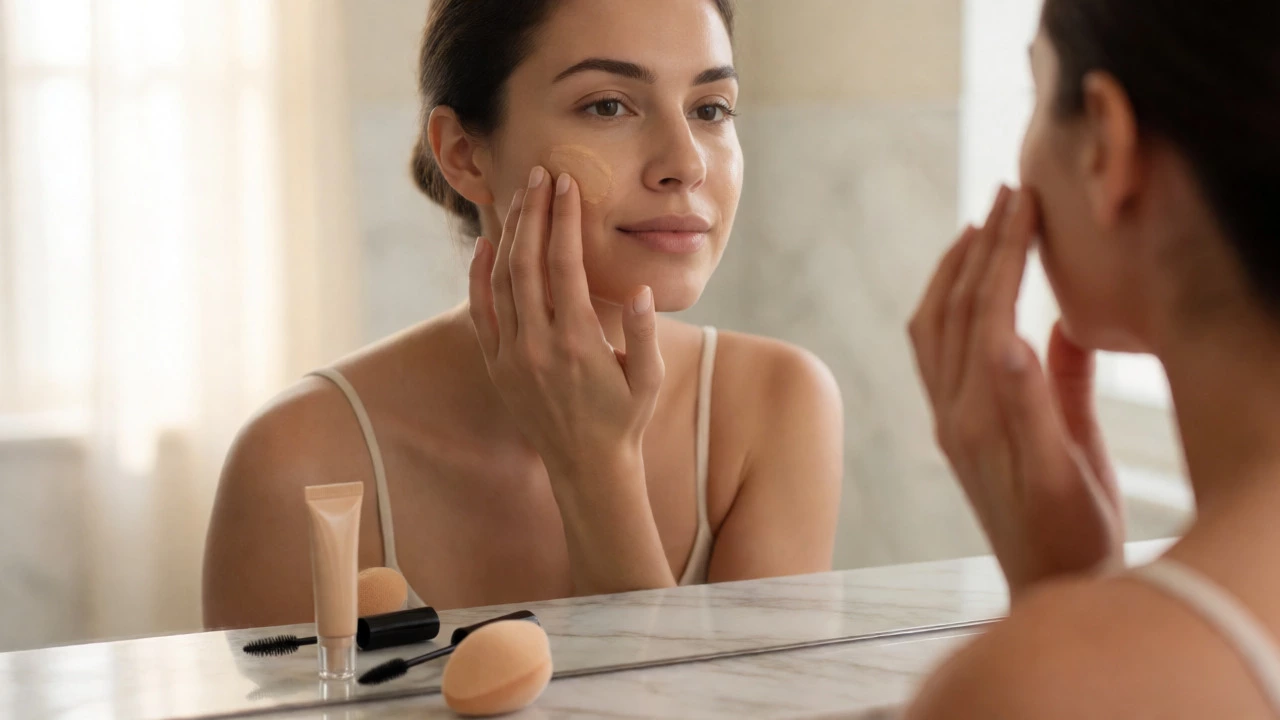
You stare into the mirror, holding a tube of foundation and a brush that costs more than your lunch, wondering if you’re doing it wrong. Maybe you’ve watched twenty YouTube tutorials, yet your face still looks like a mask when you step outside. Or perhaps you just want to look awake for a morning meeting without spending forty-five minutes blending concealer under harsh bathroom lights. Here’s the truth nobody tells you in those polished videos: simple makeup isn’t about covering up every pore or creating a perfect contour line. It’s about enhancing what’s already there with minimal effort and maximum impact.
If you live in Wellington, where the wind can strip your lipstick off before you reach the tram stop, or anywhere else where time is scarce, you need a routine that survives real life. You don’t need a professional kit. You don’t need fifteen steps. You need three products, two tools, and ten minutes. Let’s cut through the noise and build a routine that actually works for humans, not influencers.
The Core Philosophy: Less Is More
Most beginners fail because they try to do too much. They apply full-coverage foundation, heavy powder, dramatic eyeshadow, and bold lips all at once. The result? A cakey mess that feels heavy and looks unnatural. Simple makeup is a minimalist approach to cosmetics focusing on skin preparation, light coverage, and one focal point. It prioritizes healthy-looking skin over perfection.
Think of it this way: if your skin looks good, you barely need anything else. If your eyes are striking, skip the blush. If your lips are naturally pigmented, skip the liner. Pick one feature to highlight and let the rest breathe. This rule alone will save you hours and prevent that "too much" feeling.
Skin Prep: The Secret Weapon
You cannot have good makeup on bad-prepped skin. Period. No amount of expensive primer fixes dry patches or oily shine if you skip this step. In fact, most people who say "makeup doesn't sit right on me" are actually saying "I didn't moisturize properly."
Start with a gentle cleanser. Not a scrub, not a harsh foaming wash-just something that removes dirt without stripping your natural oils. Pat your face dry; don’t rub. Then, apply a lightweight moisturizer suited to your skin type. Wait five minutes. Seriously, wait. Let it absorb. If you rush this, your foundation will slide off or cling to dry spots.
Moisturizer is a skincare product designed to hydrate and protect the skin barrier before makeup application. Look for ingredients like hyaluronic acid or glycerin for hydration without heaviness. If you’re in a humid climate, go gel-based. If it’s cold and windy (hello, Wellington winters), use a cream formula. Sunscreen is non-negotiable, even indoors near windows. Choose a broad-spectrum SPF 30+ that doesn’t leave a white cast.
The Three-Product Starter Kit
Forget the fifty-piece palettes. For a simple home routine, you only need three key products. Yes, three. Here’s why each matters:
- Tinted Moisturizer or BB Cream: Unlike heavy foundations, these blend seamlessly into your skin. They provide sheer coverage, evening out tone without hiding texture. You can apply them with fingers, which warms up the product for better adhesion.
- Concealer: Target specific areas-under-eye circles, redness around the nose, or a stray pimple. Use a shade one tone lighter than your skin for brightness, or match exactly for blemishes. Dot it on, then tap gently with your ring finger. No dragging.
- Mascara: Nothing opens up the face faster than defined lashes. Curl them first if you have straight lashes, then apply one coat from root to tip. Skip lower lashes unless you want a doe-eyed look.
That’s it. Foundation, spot correction, and eye definition. Add a tinted lip balm for color, and you’re done. But wait-what about brows? Brows frame the face. If yours are sparse, use a clear brow gel to tame them. If they’re patchy, use an eyebrow pencil to fill gaps with short, hair-like strokes. Don’t draw a solid block; mimic real hairs.
Tools That Actually Help
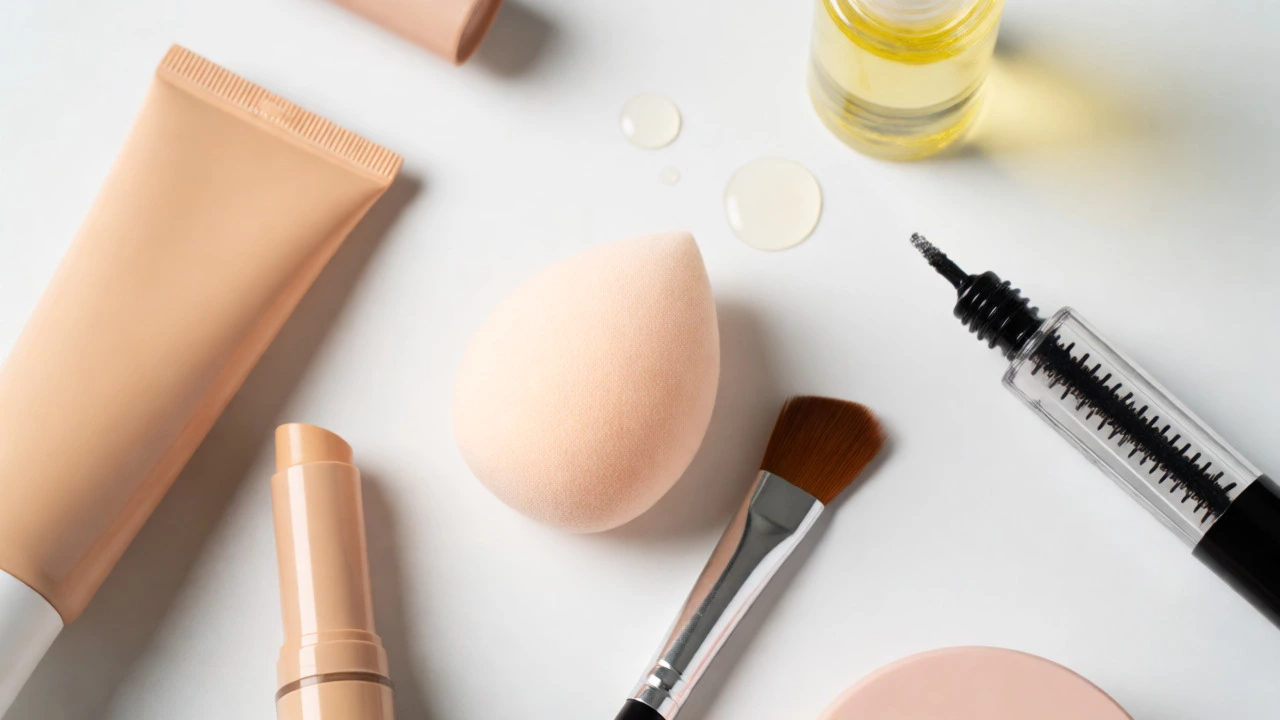
You don’t need a drawer full of brushes. Your fingers are often the best tool because they warm up creams and press them into the skin rather than sitting on top. However, two tools make a difference:
- A Damp Beauty Sponge: Great for blending concealer and tinted moisturizer evenly. Wet it, squeeze out excess water, and bounce it over your face. This prevents streaks and gives a dewy finish.
- A Small Angled Brush: Perfect for precise brow filling or applying cream blush. Keep it clean by washing weekly with mild soap.
Cleanliness matters. Dirty brushes breed bacteria, leading to breakouts. Wash sponges after every few uses. Brushes? Once a week is fine for personal use.
Step-by-Step Routine (10 Minutes Max)
Here’s how to put it together efficiently. Set a timer if you tend to overwork things.
| Step | Action | Time | Pro Tip |
|---|---|---|---|
| 1 | Cleanse & Moisturize | 2 mins | Let moisturizer absorb fully before moving on. |
| 2 | Apply Tinted Moisturizer | 2 mins | Use fingers for warmth and speed. Blend outward. |
| 3 | Spot Conceal | 1 min | Only cover imperfections. Leave freckles visible. |
| 4 | Brows | 1 min | Brush upward first, then fill sparse areas lightly. |
| 5 | Mascara | 1 min | Wipe wand on tube edge to avoid clumps. |
| 6 | Lip Color | 1 min | Tinted balm for hydration + subtle color. |
| 7 | Check Lighting | 1 min | Move to natural light to ensure no harsh lines. |
Total time: 9 minutes. See? Fast. And effective.

Common Mistakes Beginners Make
Even with a simple routine, small errors can ruin the effect. Here’s what to watch for:
- Applying too much product: Start with less. You can always add more, but removing excess requires wiping off and starting over. Thin layers look natural; thick ones look fake.
- Ignoring neck color: If your face is lighter than your neck, it looks disconnected. Blend foundation down to the jawline and onto the neck slightly.
- Using the wrong undertone: If concealer looks orange or gray, it clashes with your skin. Test shades on your jawline, not your hand. Veins matter: blue/purple means cool, green means warm, mix means neutral.
- Skip setting powder: Many beginners think they need powder everywhere. Only use it on oily zones (T-zone) if needed. Dry skin types should skip it entirely to avoid looking flat.
Adapting for Different Skin Types
Your skin dictates product choices. Here’s how to tweak the basic routine:
Oily Skin: Use a mattifying primer on the T-zone. Choose oil-free tinted moisturizers. Blot with tissue instead of adding powder throughout the day. Setting spray helps lock everything in place.
Dry Skin: Mix a drop of facial oil into your foundation for extra glow. Avoid matte formulas. Cream blushes work better than powders, which can emphasize flakes. Hydrating mist refreshes makeup midday.
Sensitive Skin: Stick to fragrance-free products. Mineral-based makeup is often gentler. Patch-test new items behind your ear for 24 hours before full application. Simplicity reduces irritation risk.
When to Upgrade Your Kit
Once you master the basics, you might want to expand. But only add products that solve specific problems. Don’t buy eyeshadow palettes because they’re pretty. Buy a single neutral shadow if you want depth. Buy a bronzer if you look pale in winter. Buy a highlighter if you want a glow.
Remember, makeup is a tool, not a requirement. Its purpose is to boost confidence, not hide identity. If you feel great wearing just mascara and lip balm, wear that. There’s no rulebook except what makes you feel comfortable and ready for the day.
Do I really need foundation for simple makeup?
No, you don’t. Many people achieve a polished look using just concealer on problem areas and tinted moisturizer for overall evenness. If your skin is generally clear, skipping foundation entirely saves time and lets your natural texture show, which often looks healthier.
How long does simple makeup last?
With proper skin prep, a simple routine lasts 6-8 hours. Using long-wearing formulas and setting spray can extend this. Oily skin may require blotting papers midday, while dry skin benefits from a hydrating mist to revive freshness.
Can I use my fingers instead of brushes?
Absolutely. Fingers are excellent for applying cream and liquid products because body heat melts the product into the skin for a seamless finish. Just ensure hands are clean. For powder products, a brush provides more control and even distribution.
What if I have acne-prone skin?
Choose non-comedogenic products labeled as such. Avoid heavy oils and silicones if they clog your pores. Mineral makeup is often safer as it allows skin to breathe. Always remove makeup thoroughly at night to prevent breakouts.
Is it okay to skip makeup some days?
Yes, and it’s recommended. Giving your skin breaks allows it to regulate oil production and repair itself. Some days, just sunscreen and lip balm are enough. Listen to your skin’s needs rather than sticking rigidly to a routine.