Makeup Routine Builder & Checker
Drag items to reorder your routine, then click "Check Order" to see if you're doing it right.
Arrange the steps below and hit Check.
You’ve spent twenty minutes perfecting your eyeliner, only to wipe it away when you apply a heavy powder. Or maybe your foundation looks cakey because you applied it before your moisturizer fully sank in. We’ve all been there. The frustration isn’t usually about the products themselves; it’s about the sequence. Applying makeup is less like painting a canvas and more like building a house-you need a solid foundation (literally) before you add the finishing touches.
Getting the order of makeup right changes everything. It stops colors from muddying, prevents creasing, and makes your skin look like skin rather than a mask. Whether you’re rushing out the door or prepping for a long night, following a logical layering strategy ensures every product does its job without fighting the one underneath it.
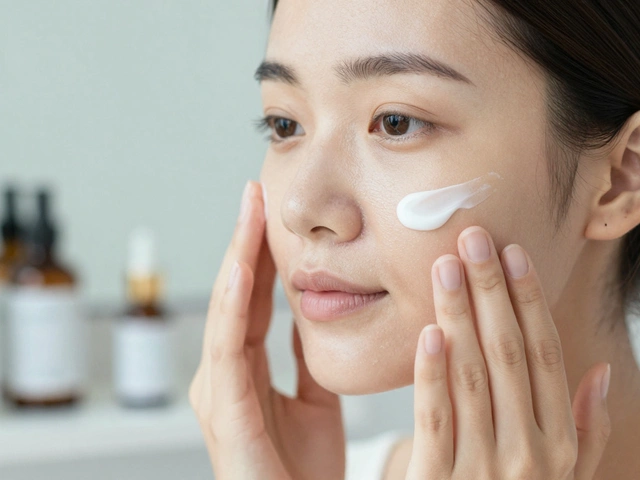
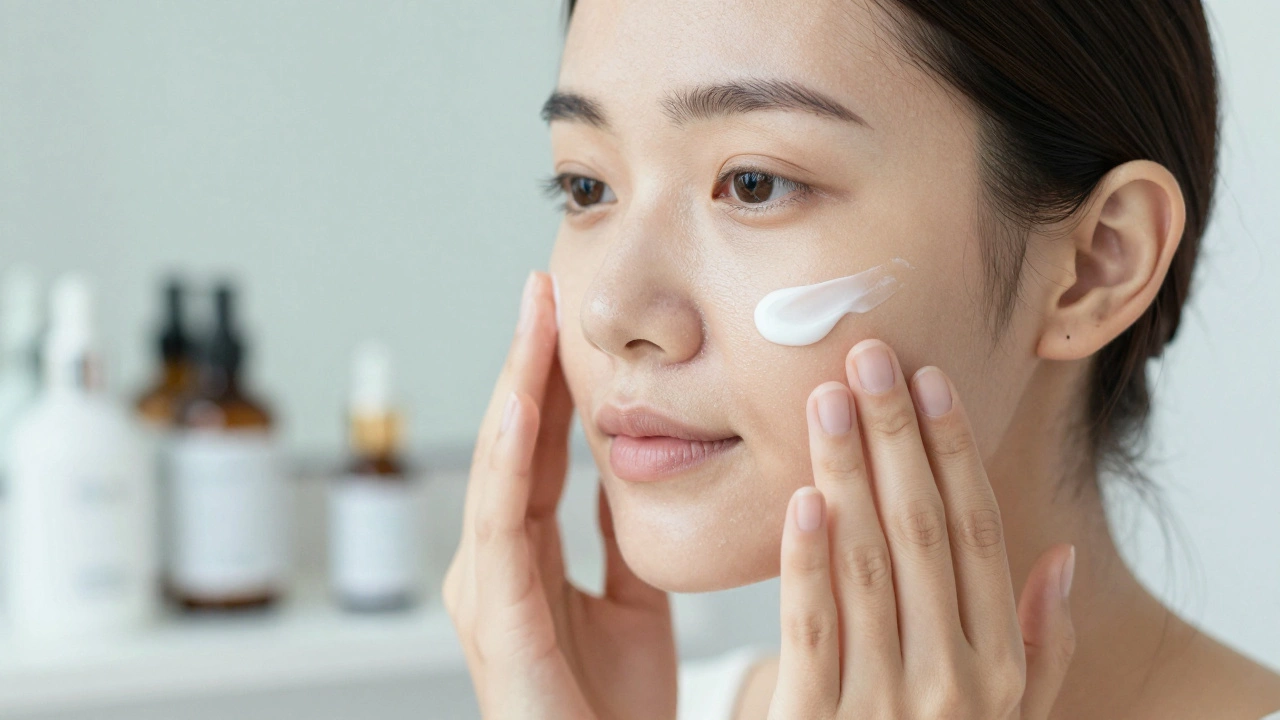
Prep Work: The Non-Negotiable Base
Before you even touch a brush, you need to think about your canvas. Makeup sits on top of your skin, so if your skin is dry, oily, or uneven, the makeup will reflect that. This phase isn’t technically "makeup," but skipping it is the number one reason routines fail.
- Cleanse: Start with a fresh face. If you have leftover sunscreen or sebum from the day before, no primer will adhere properly.
- Toner and Essence: These steps balance your pH levels and provide hydration. Think of this as dampening a sponge before you paint with watercolors-it helps the color go on smoothly.
- Serums: Apply any treatment serums here. Vitamin C for brightness or hyaluronic acid for plumping. Let these absorb completely. If your face feels sticky, wait another minute. You don’t want serum mixing with your foundation later.
- Moisturizer: Lock in the hydration. Even if you have oily skin, you need moisture. A dehydrated oil gland will overcompensate by producing more oil, breaking down your makeup faster. Choose a lightweight gel for oily types or a richer cream for dry skin.
- Sunscreen: This is the most critical step. UV rays age your skin and fade your makeup. Use a broad-spectrum SPF 30 or higher. Wait at least five to ten minutes for this to set. If you rush this, your foundation will pill-that annoying texture where makeup balls up into little white flakes.
The Face: Creating a Smooth Canvas
Now that your skin is prepped, we move to the base layers. The goal here is correction and evening out tone, not coverage yet.
Primer is a cosmetic product applied before makeup to create a smooth surface and help products last longer. Primer acts as a glue between your skincare and your makeup. If you have large pores, use a pore-filling primer just on those areas. If you’re prone to redness, a green-tinted primer can neutralize it. Apply this after your sunscreen has fully dried.
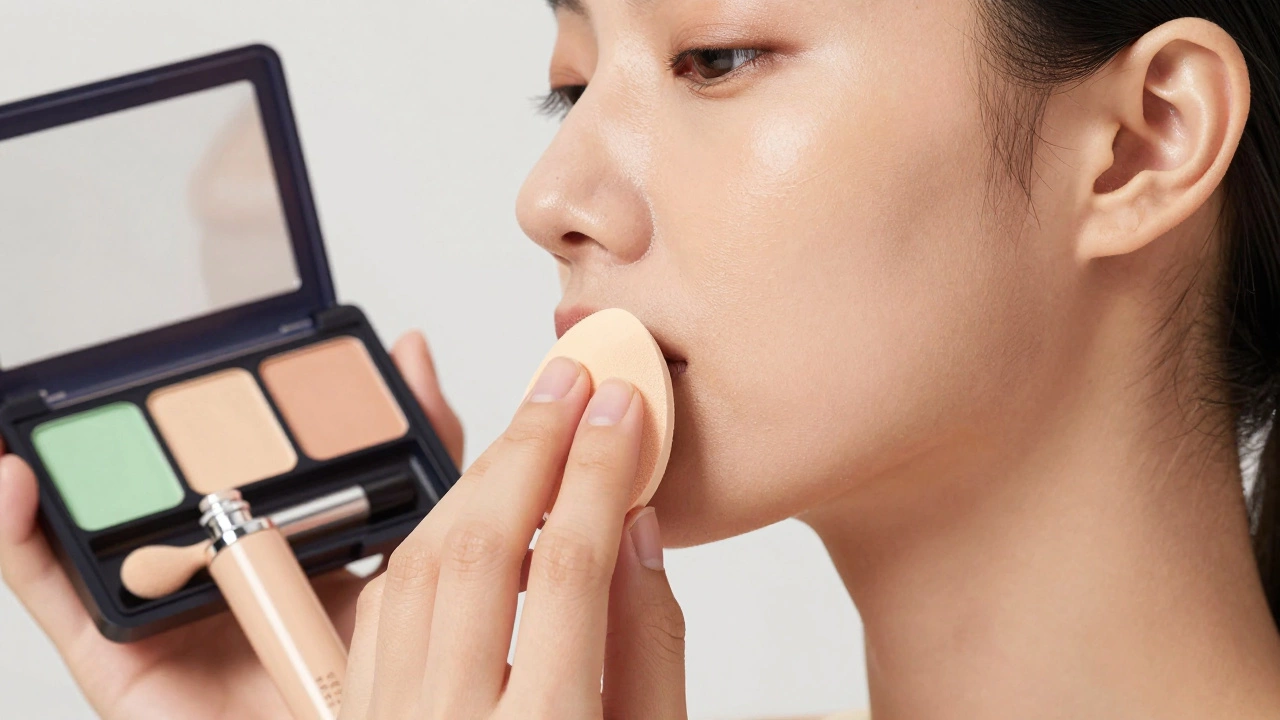
Next comes Color Corrector, which is a pigmented product used to neutralize specific discolorations like dark circles or redness. This step is optional but highly effective. Remember the color wheel: green cancels red, peach cancels purple/dark circles, and yellow cancels blue/purple tones. Apply correctors sparingly-only where needed-and blend them well. Do not cover your whole face with corrector unless you’re going for a theatrical look.
Then, apply Concealer for targeted coverage. There are two schools of thought here: some people put concealer under foundation, others on top. For most skin types, applying concealer after foundation is better. Why? Because foundation often covers enough blemishes that you won’t need as much concealer, preventing a heavy, cakey look. If you do it first, you risk wiping it away when you buff in your foundation.
Foundation and Complexion
With your corrections in place, it’s time for the main event: foundation. Whether you use a liquid, stick, powder, or cushion compact, the technique matters.
Apply foundation in thin layers. You can always add more, but you can’t easily take it off without starting over. Use a damp beauty sponge for a dewy, natural finish, or a dense brush for full coverage. Blend outward toward your hairline and down your neck to avoid that dreaded mask-like line around your jaw.
If you need extra coverage, spot-conceal now. Take a small amount of concealer on a flat brush and dab it directly onto any remaining blemishes or deep dark circles. Pat, don’t drag, to keep the surrounding foundation intact.
Setting the Base
Before moving to eyes and brows, you need to lock in your face makeup. This is especially important if you have oily skin or plan to wear your makeup for more than eight hours.
Use a translucent setting powder only on areas where you tend to get shiny-the T-zone (forehead, nose, chin). Avoid dusting powder all over your face if you have dry skin; it will emphasize fine lines. Press the powder into the skin with a puff or sponge rather than sweeping it on, which can disturb the foundation underneath.
Alternatively, you can use a setting spray now to melt the powder into the foundation for a more skin-like finish. This "baking" technique-leaving powder on for 5-10 minutes before brushing it off-is great for high-definition photography but might be too heavy for everyday wear.
Eyes and Brows: The Details
Doing your eyes after your face prevents fallout from ruining your freshly perfected complexion. Eyeshadow particles are tiny and messy; if you do eyes first, you’ll spend half your time cleaning up your forehead and cheeks.
- Brows: Fill in your eyebrows first. They frame your face, and getting them right early helps balance the rest of your features. Use a pencil for hair-like strokes or a pomade for a sharper definition. Brush them up with a spoolie to blend.
- Eyeshadow: Apply your eyeshadow next. Start with a transition shade in the crease, then build depth in the outer corner. Keep your hand steady and tap off excess powder from the brush before touching your lid.
- Eyeliner: Line your upper lash line. Tightlining (lining the waterline) adds intensity without looking harsh. If you’re using liquid liner, let it dry slightly before adding wing details to prevent smudging.
- Mascara: Curl your lashes first, then apply mascara. Wiggle the wand at the base and pull through to the tips. Two thin coats look more natural and last longer than one thick, clumpy coat.
- Lashes: If you wear false lashes, apply them now. Use a clear lash glue and wait until it’s tacky before placing the strip on your lash line.
Cheeks and Color
Now that the structure of your face is set, it’s time to bring back life and dimension. Powder products should go on powder bases, and cream products should go on cream bases. Since you likely powdered your T-zone, stick to powder blush and bronzer for longevity, or use cream products on the apples of your cheeks if you haven’t powdered those areas.
- Bronzer: Apply where the sun naturally hits-forehead, cheekbones, and jawline. This adds warmth and contour.
- Blush: Smile and apply blush to the apples of your cheeks, blending upward toward your temples. Pink suits cool undertones; peach and coral suit warm undertones.
- Highlighter: Dust highlighter on the high points of your face: cheekbones, bridge of the nose, cupid’s bow, and brow bone. Less is more here-you want a glow, not glitter.
Lips: The Final Touch
Lips are last because they involve movement. If you apply lipstick before eating or drinking, or even just talking extensively, it can smudge onto your teeth or transfer to your hands. By doing lips last, you minimize the chance of ruining the rest of your face.
Exfoliate your lips gently with a sugar scrub or an old toothbrush if they’re flaky. Apply a lip liner to define the shape and prevent feathering, then fill in with your lipstick or gloss. Blot with a tissue and reapply for longer wear.
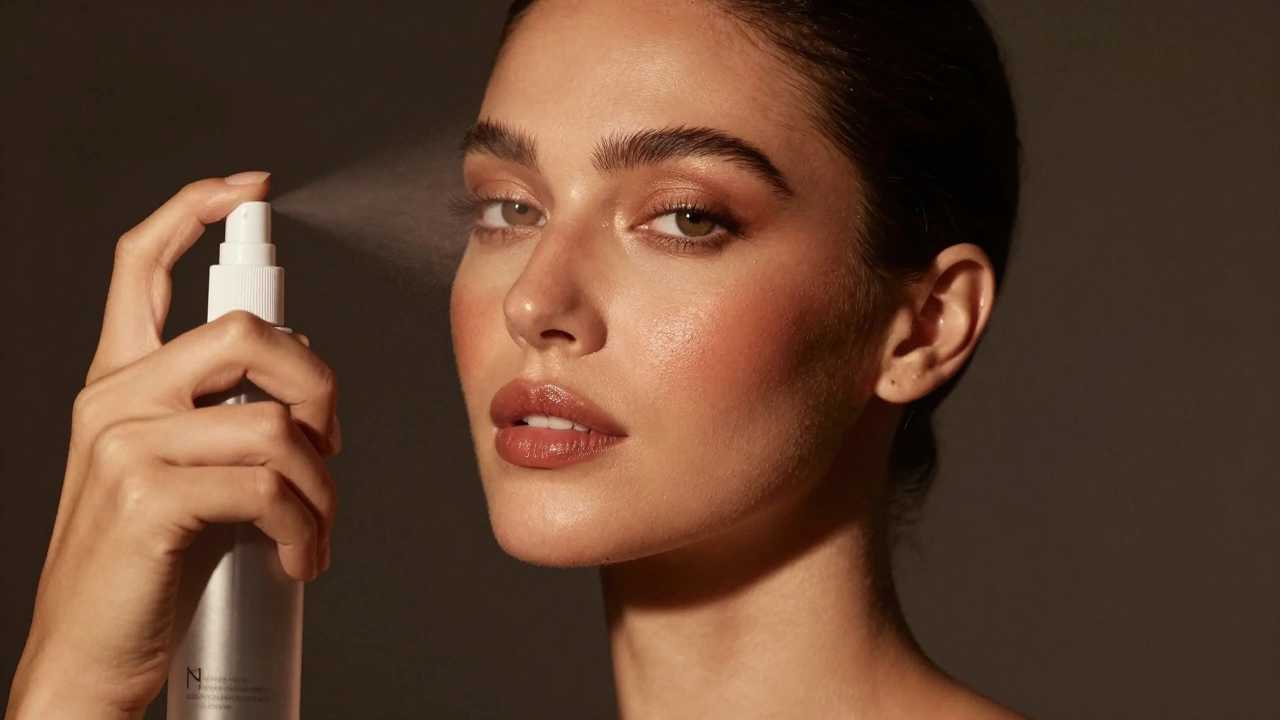
Locking It All In
The final step is sealing the deal. A good setting spray creates a film over your makeup, binding the layers together. Hold the bottle 8-10 inches from your face and mist in an X and T motion. Let it air dry; do not touch your face while it’s wet.
| Step | Product Type | Purpose |
|---|---|---|
| 1 | Cleanser & Moisturizer | Hydrate and prepare skin |
| 2 | Sunscreen | Protect from UV damage |
| 3 | Primer | Smooth texture and extend wear |
| 4 | Color Corrector | Neutralize discoloration |
| 5 | Foundation | Even out skin tone |
| 6 | Concealer | Cover blemishes and dark circles |
| 7 | Setting Powder | Control shine and set base |
| 8 | Brows & Eyes | Define features |
| 9 | Bronzer, Blush, Highlighter | Add dimension and color |
| 10 | Lips | Final polish |
| 11 | Setting Spray | Lock everything in place |
Common Mistakes to Avoid
Even with the right order, small habits can ruin the effect. One major error is applying too many layers. If your foundation is already covering 80% of imperfections, skip the heavy concealer. Another mistake is neglecting to blend edges. Harsh lines around the jaw, hairline, or eye sockets look unnatural. Always blend outward.
Also, consider your tools. Dirty brushes harbor bacteria and cause breakouts, which defeats the purpose of a clean makeup application. Wash your brushes weekly and sponges after every few uses.
Should I apply concealer before or after foundation?
For most people, applying concealer after foundation yields better results. Foundation often covers minor blemishes and redness, meaning you need less concealer. Applying it first risks wiping it away during foundation blending, leading to a heavier, cakey appearance. However, if you have severe discoloration that foundation cannot touch, you may apply a color corrector first, followed by foundation, then a light layer of concealer if needed.
Do I really need primer if I have good skin?
Primer is not strictly mandatory, but it significantly extends the wear time of your makeup. Even with good skin, environmental factors like humidity and pollution can break down makeup. Primer creates a barrier between your skincare oils and your makeup pigments. If you skip primer, ensure your moisturizer is fully absorbed and use a setting spray to compensate for the lack of adhesion.
Why does my makeup look cakey?
Cakey makeup usually results from three issues: inadequate skincare prep, applying too much product, or incompatible formulas. Ensure your skin is hydrated but not greasy. Apply foundation in thin layers. Finally, check formula compatibility-mixing silicone-based primers with water-based foundations can cause pilling. Stick to either water-based or silicone-based systems throughout your routine.
When should I apply sunscreen in my makeup routine?
Sunscreen should always be the last step of your skincare and the first step before makeup. Apply it after moisturizer and before primer. Allow it to dry for at least 5-10 minutes to form a protective film. Applying makeup over wet sunscreen will disturb the SPF layer, reducing its effectiveness and causing your foundation to slide around.
Can I do my eyes before my face?
You can, but it’s generally not recommended for beginners. Eye makeup involves powders and fallouts that can land on your forehead and cheeks. If you do your eyes first, you risk contaminating your fresh foundation. If you prefer doing eyes first, place a powder puff or tissue under your eyes to catch fallout, and be prepared to clean your face before applying foundation.
How long should I wait between skincare steps?
Ideally, wait 1-2 minutes between each skincare step to allow absorption. However, the most critical wait time is after sunscreen. Give it at least 5-10 minutes to set before applying primer or makeup. Rushing this step is the primary cause of pilling and sliding makeup. If you’re in a hurry, use a fan to speed up drying time.