Build Your Beginner Makeup Starter Kit
Tap the products you plan to buy first. Prices are average estimates in USD / AUD / NZD. The full six-item kit covers 90% of everyday looks.
The complete starter kit typically costs under $150.
Walking into a cosmetics aisle can feel overwhelming. There are hundreds of shades, formulas, and brands vying for your attention. But you don't need all of it to look put-together. In fact, buying too much at once is the fastest way to waste money on products that sit in your drawer unused. The key is starting with a small, versatile kit that covers the basics. This approach saves cash and helps you learn what actually works for your skin tone and texture before investing in high-end items.
This guide breaks down the exact essential makeup products you need to start your journey. We will focus on functional items that offer the highest impact for the lowest effort. Whether you have oily, dry, or combination skin, these picks will form the foundation of your daily routine.
The Core Foundation: Prepping Your Canvas
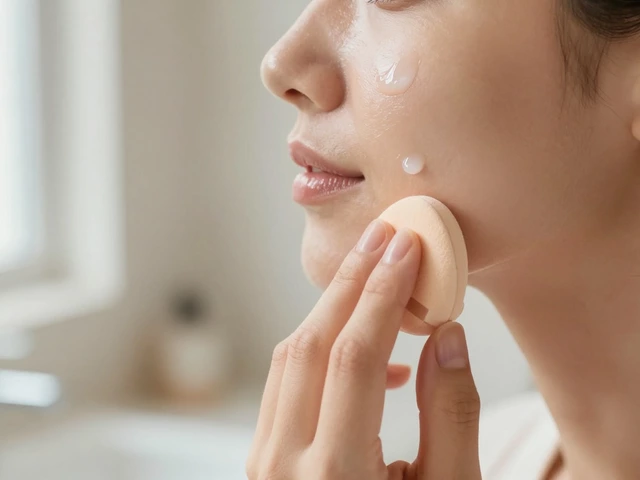
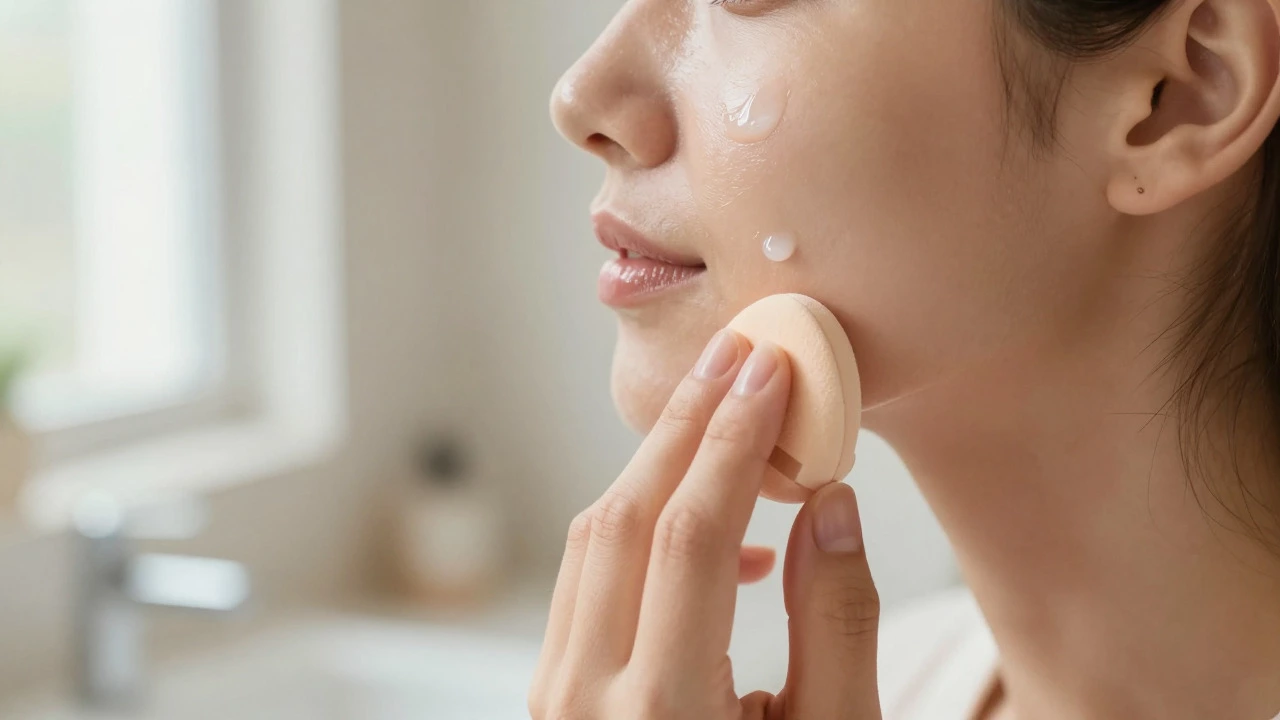
Before applying any color, your skin needs a smooth base. Skipping this step often leads to makeup sliding off or looking cakey by noon. You only need two things here: a moisturizer and a primer.
Moisturizer is non-negotiable. Even if you have oily skin, hydration prevents your face from overproducing oil later in the day. Look for a lightweight, fast-absorbing formula. For dry skin, opt for something richer with hyaluronic acid. Once your skin is prepped, apply a primer. Primers create a barrier between your skincare and makeup, helping everything last longer. Silicone-based primers are best for blurring pores, while water-based ones work well for oily skin types. You do not need a separate sunscreen if your moisturizer has SPF 30 or higher, which simplifies your morning routine significantly.
Coverage That Enhances, Not Masks
Many beginners make the mistake of reaching for full-coverage foundation immediately. It can look heavy and mask-like if applied incorrectly. Instead, start with a tinted moisturizer or a light-coverage liquid foundation. These products even out your skin tone without hiding every blemish, giving you a natural "your skin but better" finish.
If you prefer more coverage, a cream blush or a multi-use stick product can double as both cheek color and light foundation patches. When choosing a shade, match it to your jawline rather than your hand, which often has a different undertone. Warm undertones pair well with yellow or golden bases, while cool undertones suit pink or blue bases. Neutral undertones work with almost anything. Test products in natural daylight whenever possible, as store lighting can distort colors dramatically.
| Product Type | Coverage Level | Best For Skin Types | Application Tool |
|---|---|---|---|
| Tinted Moisturizer | Sheer to Light | Dry, Mature, Normal | Fingers or Sponge |
| Liquid Foundation | Medium to Full | Oily, Combination | Brush or Sponge |
| Cream Blush Stick | Light (Multi-use) | All Skin Types | Fingers |
Defining Features: Brows and Eyes
Brows frame your face and can instantly make you look more awake. You do not need an entire palette of brow pencils. A single pencil in a shade one lighter than your darkest hair strand is sufficient. Use short, feathery strokes to fill in gaps. Avoid drawing harsh lines; the goal is to mimic natural hair growth. If you struggle with symmetry, keep your hands loose and check your progress in a mirror frequently.
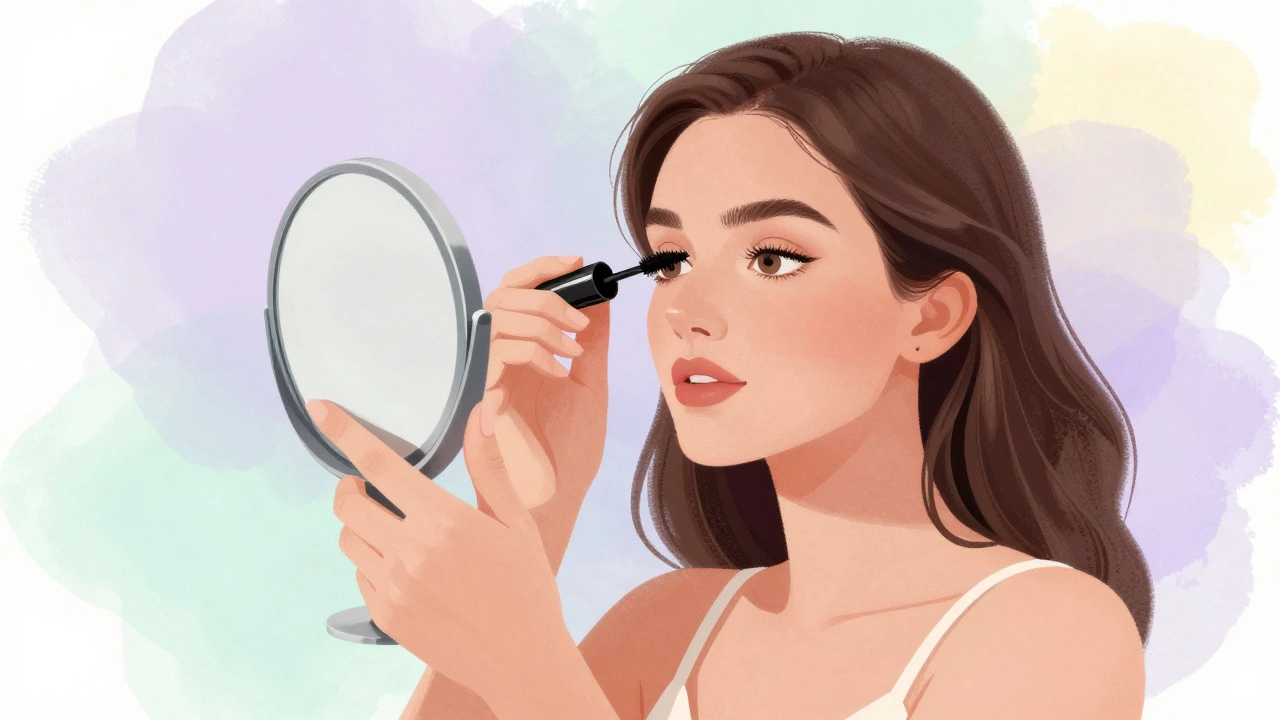
For eyes, simplicity is key. You do not need a twenty-shade eyeshadow palette to look polished. A neutral matte brown or taupe shadow adds depth without requiring complex blending skills. Apply it to the crease with a fluffy brush. Mascara is the most impactful eye product. One coat of lengthening mascara opens up the eyes and defines lashes. Choose a formula that suits your lash type: volumizing for thin lashes, lengthening for short lashes, and waterproof if you tend to rub your eyes or live in humid climates like Wellington.
Adding Color: Cheeks and Lips
Blush brings life to your complexion. Cream blushes are ideal for beginners because they blend easily with fingers and melt into the skin. Powder blushes require more technique and can settle into fine lines if your skin is dry. Start with a soft peach or rosy pink shade that complements your natural flush. Smile and apply the product to the apples of your cheeks, sweeping upward toward your temples.
Lipstick can be intimidating due to the vast range of shades. However, you do not need red or nude initially. A sheer lip tint or a balm with a hint of color provides hydration and subtle definition. These products are forgiving and easy to reapply throughout the day. If you want more structure, a lip liner in a matching shade can prevent bleeding and extend wear time. Stick to shades within your natural lip tone family until you become comfortable experimenting with bold colors.
Building Your Starter Kit: What to Buy First
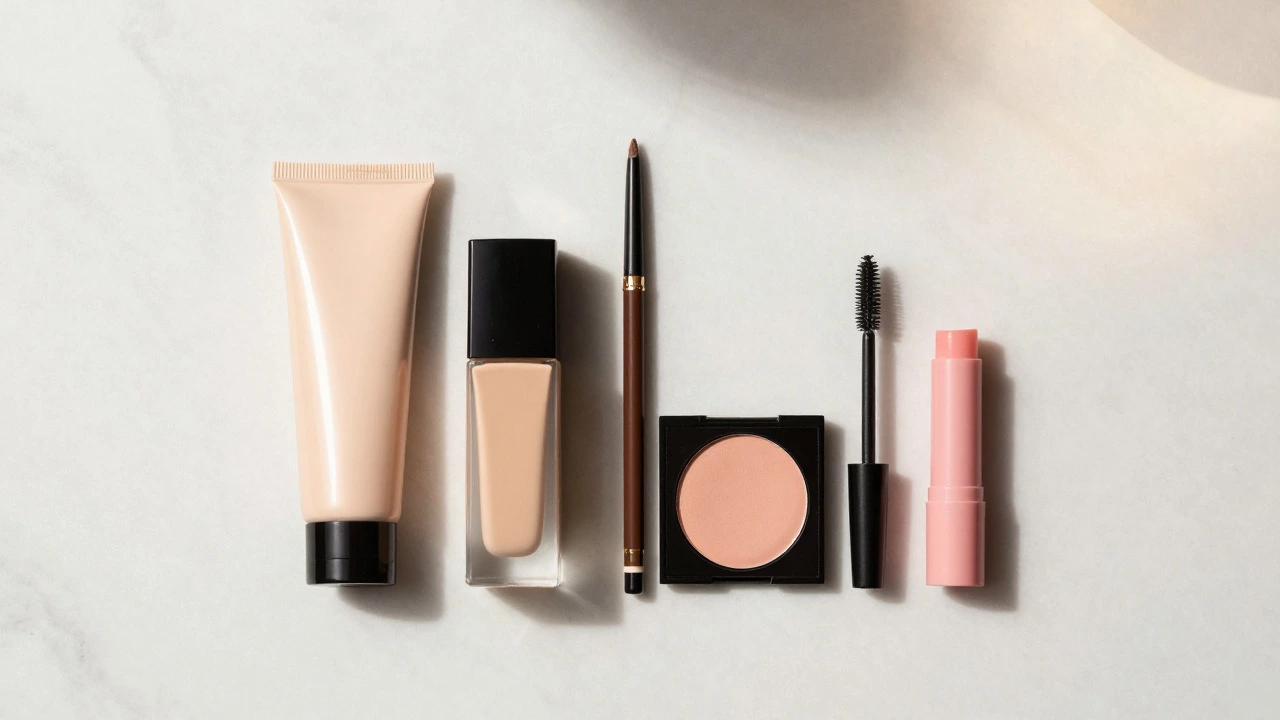
Now that we have covered the categories, let's prioritize your shopping list. Here is the recommended order of purchase based on impact and learning curve:
- Primer: Creates a smooth base and extends makeup longevity.
- Tinted Moisturizer or Light Foundation: Evens out skin tone naturally.
- Brow Pencil: Frames the face and enhances expression.
- Mascara: Opens up the eyes with minimal effort.
- Cream Blush: Adds healthy glow and dimension.
- Lip Tint or Balm: Provides subtle color and hydration.
This six-item kit costs less than $150 USD/AUD/NZD depending on brand choices and covers 90% of everyday looks. You can always add contour, highlight, or eyeshadow palettes later once you master these basics. Buying cheap dupes of high-end products is a smart strategy for testing preferences without breaking the bank.
Common Mistakes to Avoid
Even with the right products, application errors can ruin the look. One major mistake is using too much product. Less is more when it comes to foundation and powder. Build up coverage gradually rather than applying a thick layer all at once. Another common error is skipping setting powder. If you have oily skin, a light dusting of translucent powder on the T-zone keeps shine under control without drying out other areas. Finally, do not forget to clean your tools. Dirty brushes and sponges harbor bacteria that can cause breakouts. Wash them weekly with a gentle soap or dedicated cleanser.
Understanding your skin type is crucial for product selection. Oily skin benefits from matte finishes and oil-control primers. Dry skin requires hydrating formulas and dewy finishes. Combination skin may need different products for different zones, such as matte powder on the forehead and cream blush on the cheeks. Listen to your skin's feedback; if a product feels tight or causes flaking, it likely lacks enough moisture.
Frequently Asked Questions
Do I need a primer if I use a good moisturizer?
Yes, but it depends on your goals. Moisturizer hydrates, while primer grips makeup. If you find your foundation sliding off or settling into pores, a primer will help. If you prefer a very natural look and your skin is balanced, you might skip it initially.
Which is better for beginners: powder or cream blush?
Cream blush is generally easier for beginners. It blends seamlessly with fingers and melts into the skin, reducing the risk of harsh lines. Powder blush requires a brush and can be tricky to build up without looking patchy.
How do I choose the right foundation shade?
Match the foundation to your jawline, not your hand. Swatch three shades on your jaw and step outside into natural daylight. The correct shade will disappear into your skin. Avoid shades that look too orange or too ashy in bright light.
Is concealer necessary for a starter kit?
Concealer is optional for a basic routine. A good tinted moisturizer handles minor imperfections. Add concealer later if you have specific dark circles or blemishes you want to target. It is a specialized product, not a foundational one.
How long does beginner makeup take to apply?
With practice, a basic routine using the starter kit takes about 10 to 15 minutes. Initially, it may take longer as you learn blending techniques. Speed comes with repetition and knowing exactly where each product goes.