Natural Makeup Routine Builder
Follow these steps in order for a fresh-faced glow. Click each card to mark it as done and reveal pro tips.
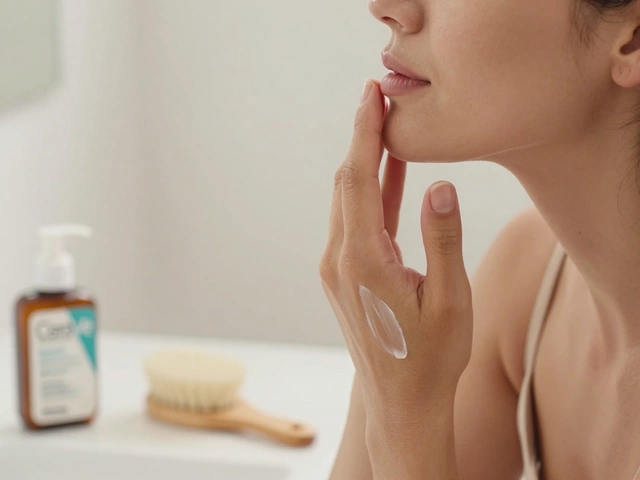
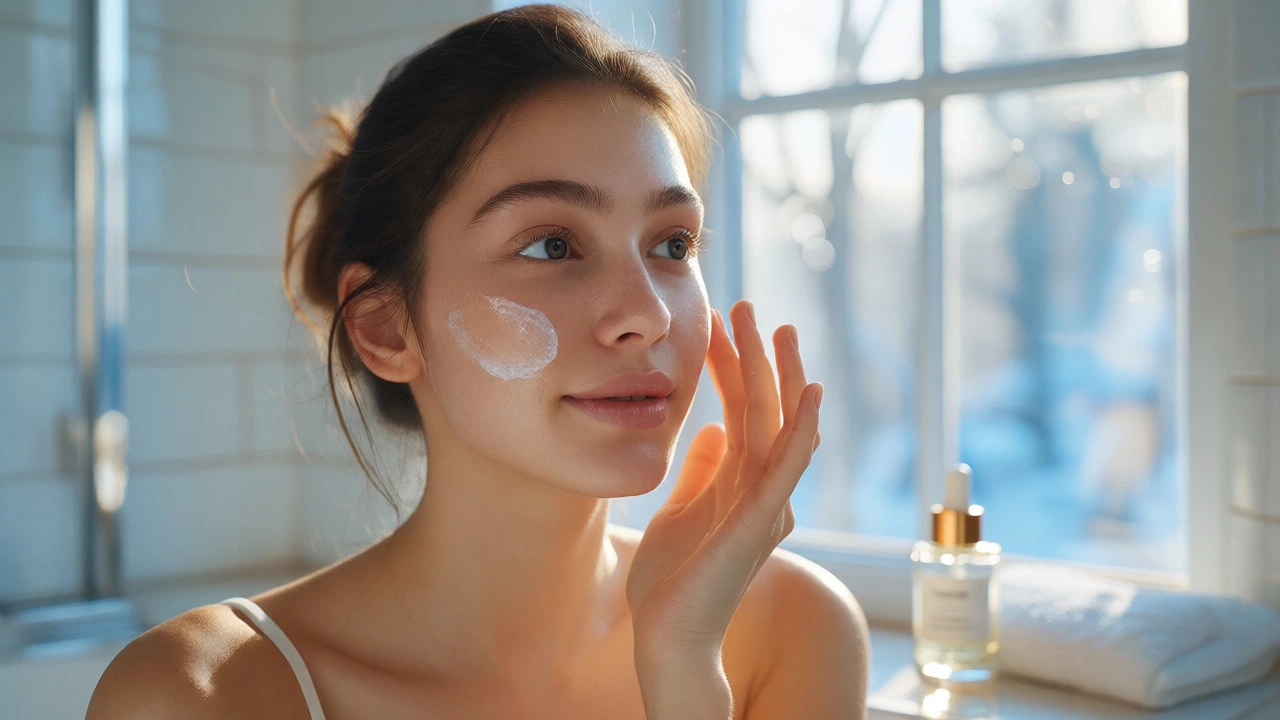
Cleanse, moisturize (wait 5 mins), apply SPF/Primer.
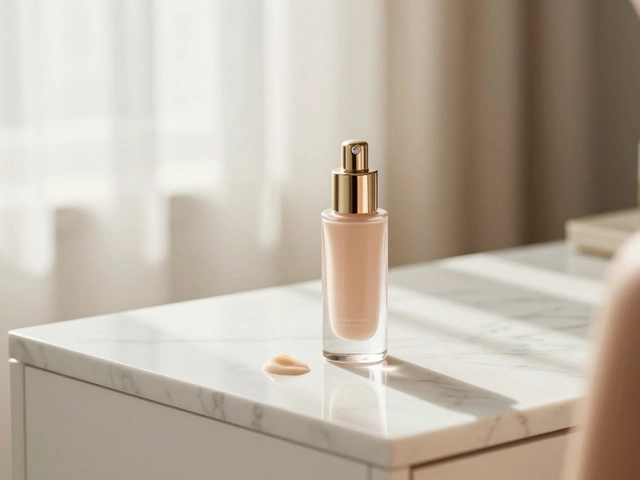
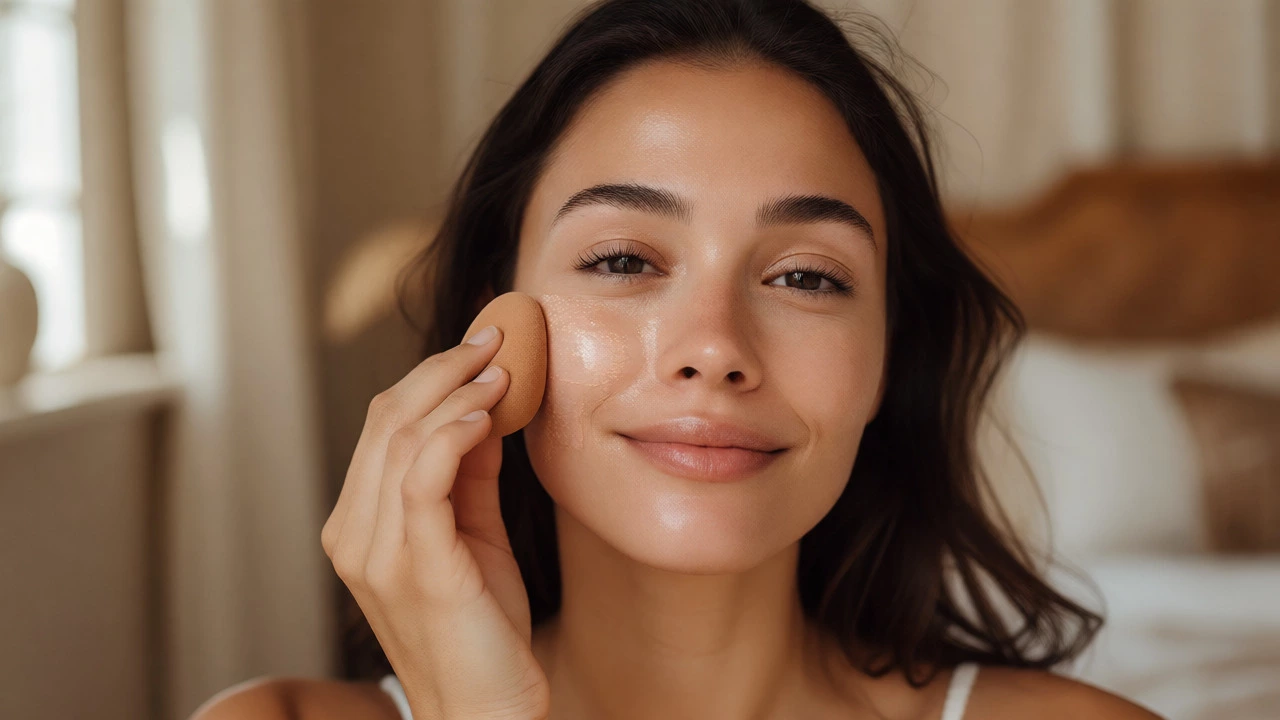
Use tinted moisturizer or dewy foundation with damp sponge.
Dot concealer only where needed. Blend with ring finger.
Cream blush on apples of cheeks. Sun-kissed spots for bronzer.
Brush brows, curl lashes, use brown mascara.
Sheer lip tint applied with finger. Mist with setting spray.
Pro Tip
You know that feeling when you look in the mirror and think, "I spent twenty minutes doing this, but I just look tired?" That is usually because we try too hard. We layer foundation until our pores disappear, pack on powder until our face looks flat, and add color that screams "effort." The goal of a natural makeup look isn't to hide your face; it's to enhance what you already have. It is about looking like yourself, but with better sleep and brighter eyes.
If you are new to this, forget everything you see in high-glam Instagram reels. Those techniques require professional lighting and heavy products. For daily wear, less is genuinely more. You do not need a full kit of twelve brushes or expensive luxury brands. You need good skin prep, sheer coverage, and a light hand. Let’s break down exactly how to get that fresh-faced glow without spending hours in front of the mirror.
Skin Prep Is Half the Battle
Before you even touch a makeup bag, you need to deal with your canvas. If your skin is dry, flaky, or oily, no amount of foundation will make it look natural. In fact, applying makeup over poorly prepped skin often highlights texture rather than hiding it.
Start with a gentle cleanser. You want to remove any night-time oils or sunscreen residue. Follow this with a lightweight moisturizer. Wait five minutes. Seriously, wait. If you apply makeup immediately, the two products will fight each other, leading to pilling (those little balls of product that roll off your face). Once the moisturizer has absorbed, apply a broad-spectrum SPF 30 or higher. Sun protection is non-negotiable for anti-aging, and many modern sunscreens double as a primer by smoothing out the skin surface.
Here is a quick checklist for your prep stage:
- Cleanse with a pH-balanced wash.
- Apply hydrating serum if you have dry patches.
- Moisturize and let it sink in for 5-10 minutes.
- Apply SPF or a hydrating primer.
Choosing Your Base: Foundation vs. Tinted Moisturizer
This is where most beginners go wrong. They buy a full-coverage foundation because they want to cover redness or acne scars instantly. But full coverage requires setting powder, which can look cakey if not blended perfectly. For a natural look, start with a tinted moisturizer or a BB cream. These products offer sheer coverage that evens out skin tone without masking your freckles or texture.
If you prefer liquid foundation, choose one with a dewy or satin finish. Matte foundations tend to settle into fine lines and can look flat under daylight. When applying, use a damp beauty sponge. Why damp? Because the water absorbs some of the excess product, preventing you from using too much. Start in the center of your face-where redness usually lives-and blend outward toward your hairline. This creates a gradient effect, which looks far more realistic than a mask-like uniform layer.
| Product Type | Coverage Level | Best For | Finish |
|---|---|---|---|
| Tinted Moisturizer | Sheer | Dry skin, minimal blemishes | Dewy / Radiant |
| BB Cream | Light to Medium | Combination skin, uneven tone | Natural Satin |
| Liquid Foundation | Medium to Full | Oily skin, significant discoloration | Satin (Avoid Matte) |
| Concealer | Targeted High Coverage | Dark circles, specific spots | Varies |
Spot Concealing, Not Face Painting
Do not apply concealer all over your under-eyes unless you have severe dark circles. Often, people apply a bright shade under their eyes and end up looking like a panda in reverse. Instead, place small dots only where you need them. Use a shade that matches your foundation exactly for blemishes, and perhaps one shade lighter for under-eye shadows.
Blend with your ring finger. The warmth of your body heat helps melt the product into the skin better than a brush might. Tap gently-do not drag. Dragging pulls at delicate eye skin and disrupts the base underneath. If you have a stubborn spot, build coverage in thin layers rather than slapping on one thick blob.
Add Life Back: Blush and Bronzer
A natural face has dimension. Without blush, you look washed out. Without bronzer, you look flat. The trick is placement. Do not sweep bronzer across your entire forehead and cheeks like you are contouring for a photoshoot. Focus on where the sun naturally hits: the bridge of your nose, the tops of your cheekbones, and maybe a dusting on the chin.
For blush, cream formulas are superior for beginners wanting a natural result. Powder blush sits on top of the skin; cream blush melts into it. Smile slightly to find the apples of your cheeks, then apply a tiny dot of cream blush there. Blend upward toward your temples. Stick to peach, soft pink, or terracotta shades. Avoid neon pinks or oranges unless you are going for a bold statement. You want a "just came in from a walk" flush, not a clown nose.
Eyes and Brows: Keep It Simple
Your eyebrows frame your face. If they are sparse, fill them in with an eyebrow pencil using short, hair-like strokes. Do not draw a solid block. Brush through them with a spoolie wand afterward to soften the line. If you have thicker brows, just clear brow gel is enough to keep them in place.
For eyes, skip the eyeliner wing if you are struggling. It takes practice to get symmetrical. Instead, curl your lashes. This opens up the eye area more effectively than mascara alone. Apply one coat of brown mascara instead of black. Brown is softer and mimics natural lash pigmentation, whereas black can sometimes look harsh during the day. If you want subtle definition, smudge a tiny bit of matte taupe eyeshadow along the upper lash line. Taupe blends seamlessly into the skin and adds depth without looking like you wore makeup.
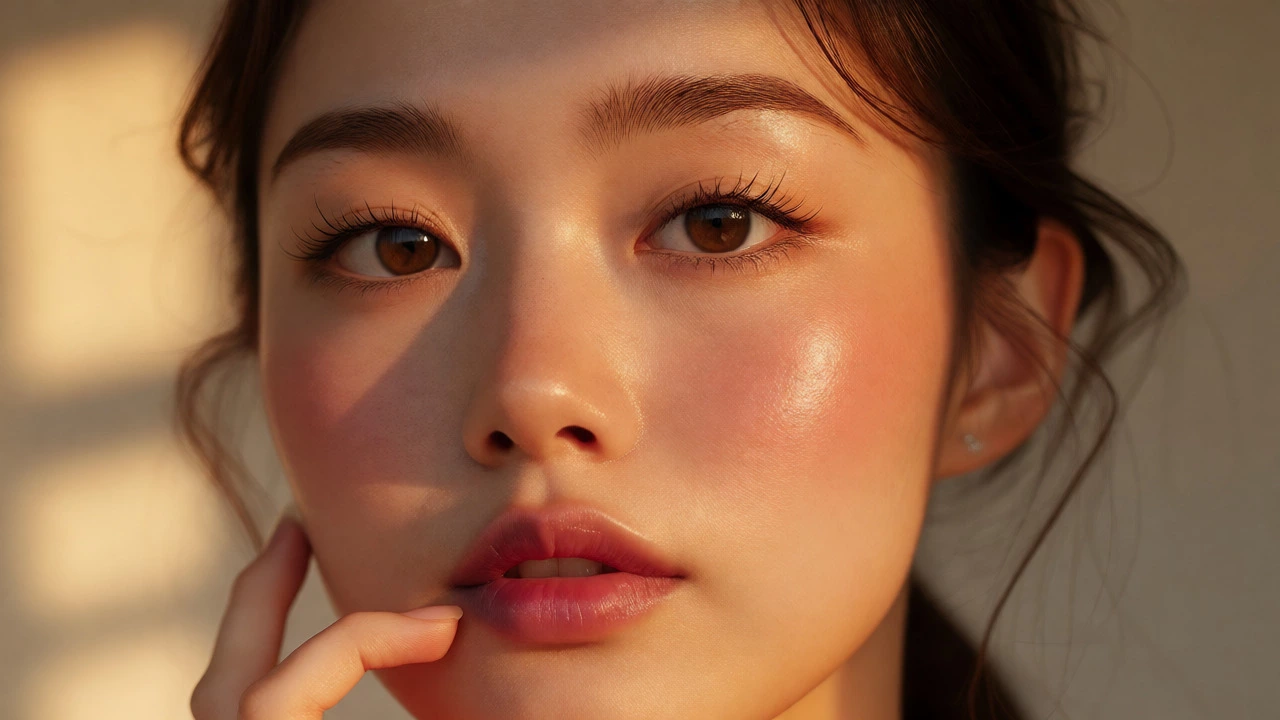
Lips: The Final Touch
Balmy lips are key. Exfoliate them lightly if they are chapped. Then, use a lip tint or a sheer lipstick in a shade close to your natural lip color. Berry tones, nudes, and soft corals work well. Apply it with your finger for a diffused, blurred edge. This prevents the sharp outline that makes lips look drawn-on. If you want extra hydration, dab a tiny bit of clear gloss in the center of your lower lip. It catches the light and makes your mouth look fuller naturally.
Setting the Look
Do you need setting spray? Probably. Do you need loose powder? Maybe. If you have oily skin, press a small amount of translucent powder only onto your T-zone (forehead, nose, chin). Leave your cheeks bare so they retain their glow. Finally, mist your face with a setting spray. This helps meld the layers together, removing any powdery finish and making everything look like skin again.
Remember, the best makeup is the kind you don’t notice you’re wearing. Practice these steps a few times, and you’ll develop muscle memory. Soon, you’ll be able to do this routine in under ten minutes while your coffee brews.
What is the biggest mistake beginners make with natural makeup?
Using too much product. Beginners often think "more coverage equals better," but heavy layers look artificial. Start with half the amount you think you need and build up only if necessary. Also, failing to blend necklines leads to a visible line of demarcation between face and neck.
Can I achieve a natural look with drugstore products?
Absolutely. Many drugstore brands now offer excellent sheer foundations, cream blushes, and mascaras that rival high-end counterparts. Price does not determine how natural a finish looks; formulation and application technique do. Look for keywords like "sheer," "tinted," and "hydrating" on packaging.
How do I stop my makeup from looking cakey?
Cakey makeup usually results from dry skin or too much powder. Ensure your skincare routine includes adequate hydration before makeup. Use a damp sponge to apply liquid products, which sheers out the formula. If you must use powder, apply it sparingly with a fluffy brush and focus only on oily areas, avoiding the rest of the face.
Is primer really necessary for a natural look?
Not always. If your skin is balanced and you use a moisturizing foundation, you might skip it. However, if you have large pores or very oily skin, a blurring primer can help create a smoother canvas without needing heavy foundation. Choose a hydrating primer for dry skin and a mattifying one for oily zones.
What colors should I avoid for a daytime natural look?
Avoid stark whites, metallic silvers, and bright neons. These reflect too much light and draw attention to the makeup itself rather than your features. Stick to earth tones, soft pinks, peaches, and muted taupes. These colors mimic natural skin undertones and provide subtle enhancement.